


The wall under my stairs was *meh*. I’m embarrassed to admit that I sometimes feel like the cobbler with no shoes, but for the last 8 years, this wall was an insipid cream with no art. I know, I know. A designer with a fugly wall is so awful, but you’ll still be my friend, right?!
Here is what is was before. Woof.

And here are the steps we took to transform it!
1. We headed to Sherwin Williams to buy paint; but after searching a billion chips with my Seven Year Old Saturday Design Assistant, I realized the color I wanted was too “specific” (a nice way of saying I’m high-maintenance with color).

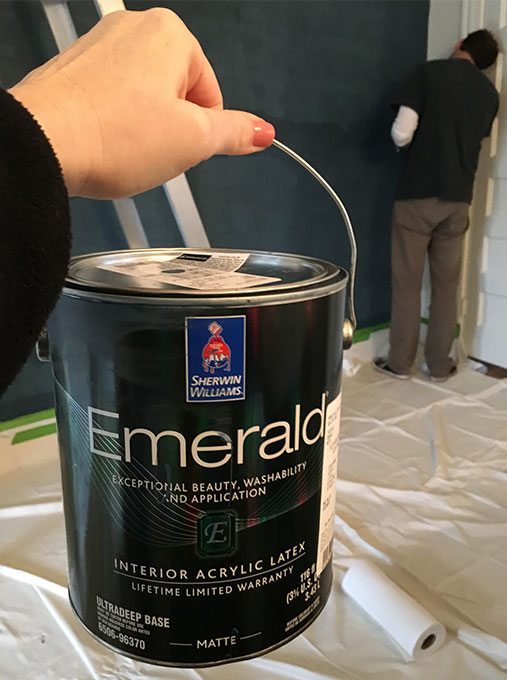
Soooo, the cool Sherwin Williams guys hooked me up to the machines and let me create my own shade of navy/grey/green/black. And since Tyler helped me, we named the color “Tyler Hooks Anne Up Blue”. ((giggle)) For the formula, see the can below:

3. Cover up millwork with plastic. I love Glad ForceFlex bags because they smell like Febreze and make painting feel “fawncy”. This detail bugs my man because he’s thrifty and isn’t into aroma.

4. Drop the Cloth! Buy whichever one you can afford – disposable or expensive – just make sure it’s slightly absorbent and waterproof. Either way, BUY A DROP CLOTH! I would tell you a horror story of when we skipped the drop cloth in our first house in Austin, but it will make you feel too sorry for me….

5. Cover up your Nest psychotically well, so your sweetie doesn’t spazz if paint gets on it.

5. Colors this dark take at least two coats of paint. Our plaster wall took 3 coats of washable flat paint.
*I chose flat because our plaster walls have 100+ year old imperfections and flat minimizes imperfections unlike gloss that calls attention to any crack or bump.
**Buy the best paint you can afford! It goes on more evenly and takes less coats, which means you save money and elbow grease in the end!
***When you buy your roller brush, talk to the paint professionals about the size of the nap for the texture of your wall! Nothing is worse than smooth walls that gloppy paint because the wrong roller brush was used.
****I just wrote this sentence as an excuse to type four *s!

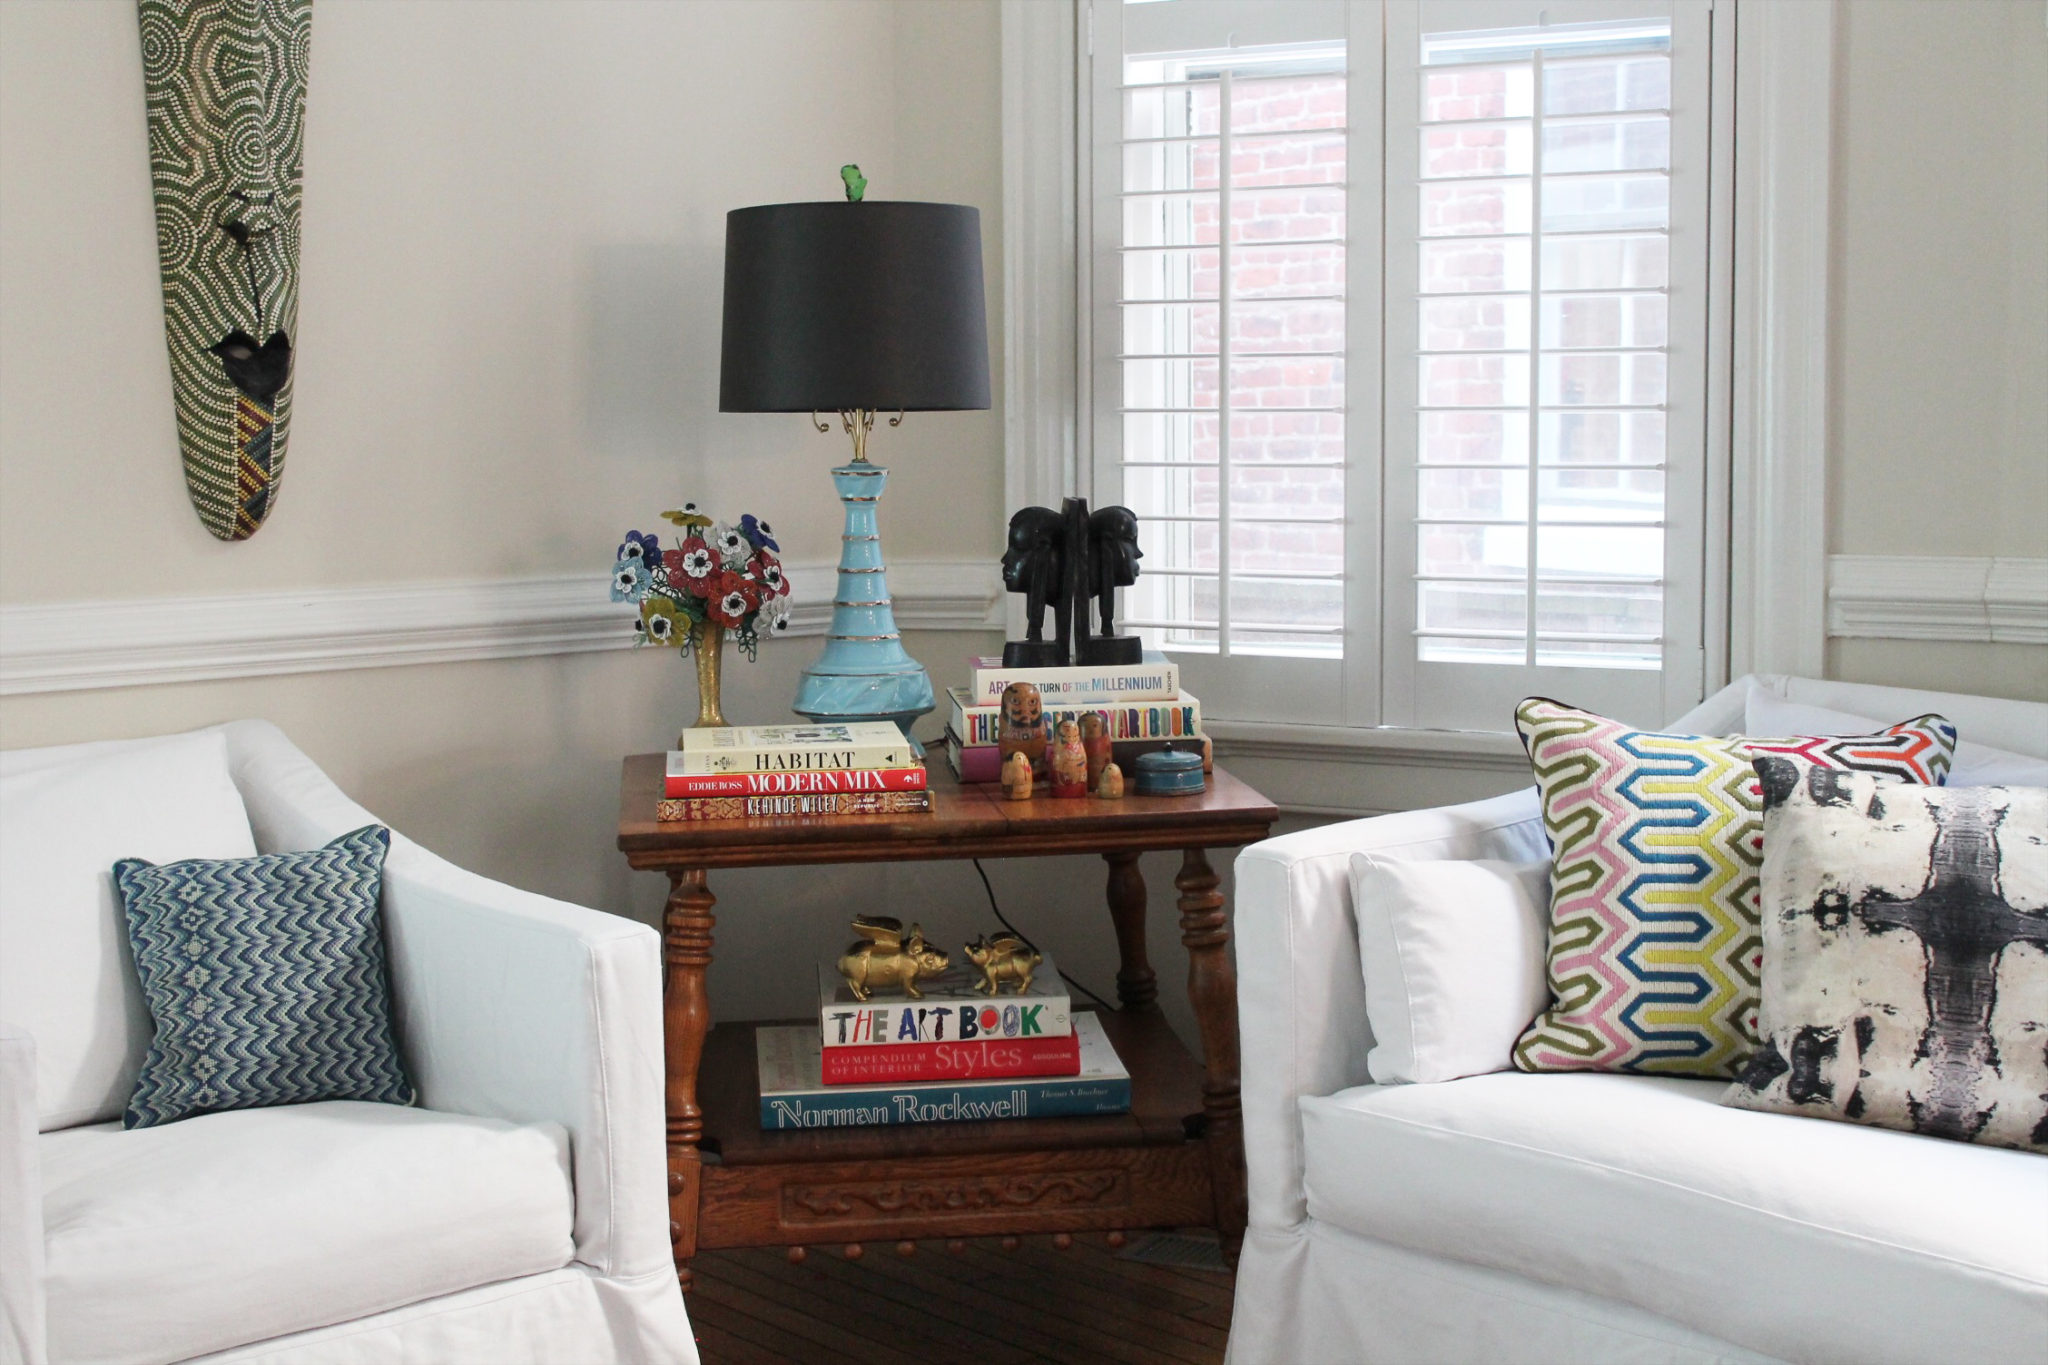
My Dreamboat, Beauhunk, Facejock at work as I sit from the sidelines and snap pics. It’s still like college 15 years later!

When you are hanging a really large piece of art, a laser level and Professional Art Handler (or two!) are worth their weight in gold!

The story of framing this sampler that my grandmother made is coming soon…. Let me just say, the framing transformation is BONKERS cool!

Three coats of delicious blue against the deep turquoise foodogs that my hubby’s grandmother brought back from Vietnam before Vietnam was the name of a war. They are legit! I DIG the combo of blues in the most major way!!

Here is the time-lapse of our Saturday afternoon and the pretty final result! Bye, bye builder’s beige. Hello custom blue and family heirlooms reimagined! love, Love, LOVE!!!
…and a few of the painting goodies that made the job easier!

Buying Guide
-
DETAILS +
![]()
Roller Brush
Size: 9"
![]()
-
DETAILS +
![]()
Paint Tray Liner
Pack of 12
![]()
-
DETAILS +
![]()
Drop Cloth
![]()
-
DETAILS +
![]()
Trash Bags
68 bags
![]()
-
DETAILS +
![]()
Pole Extender
Size: 6-to-12 feet
![]()
-
DETAILS +
![]()
Painters Tape
Size: 1.88" x 60yds
![]()
-
DETAILS +
![]()
Frog Tape
Size: 1.88" x 60yds
![]()
-
DETAILS +
![]()
Paint Tray
![]()
-
DETAILS +
![]()
Nest
![]()
-
DETAILS +
![]()
Edge Paint Brush
![]()
-
DETAILS +
![]()
Paint Pourer
![]()
-
DETAILS +
![]()
Roller Cover
![]()