Who loves big impact on a budget?! That’s what were all about today, DIY Design Lovers!
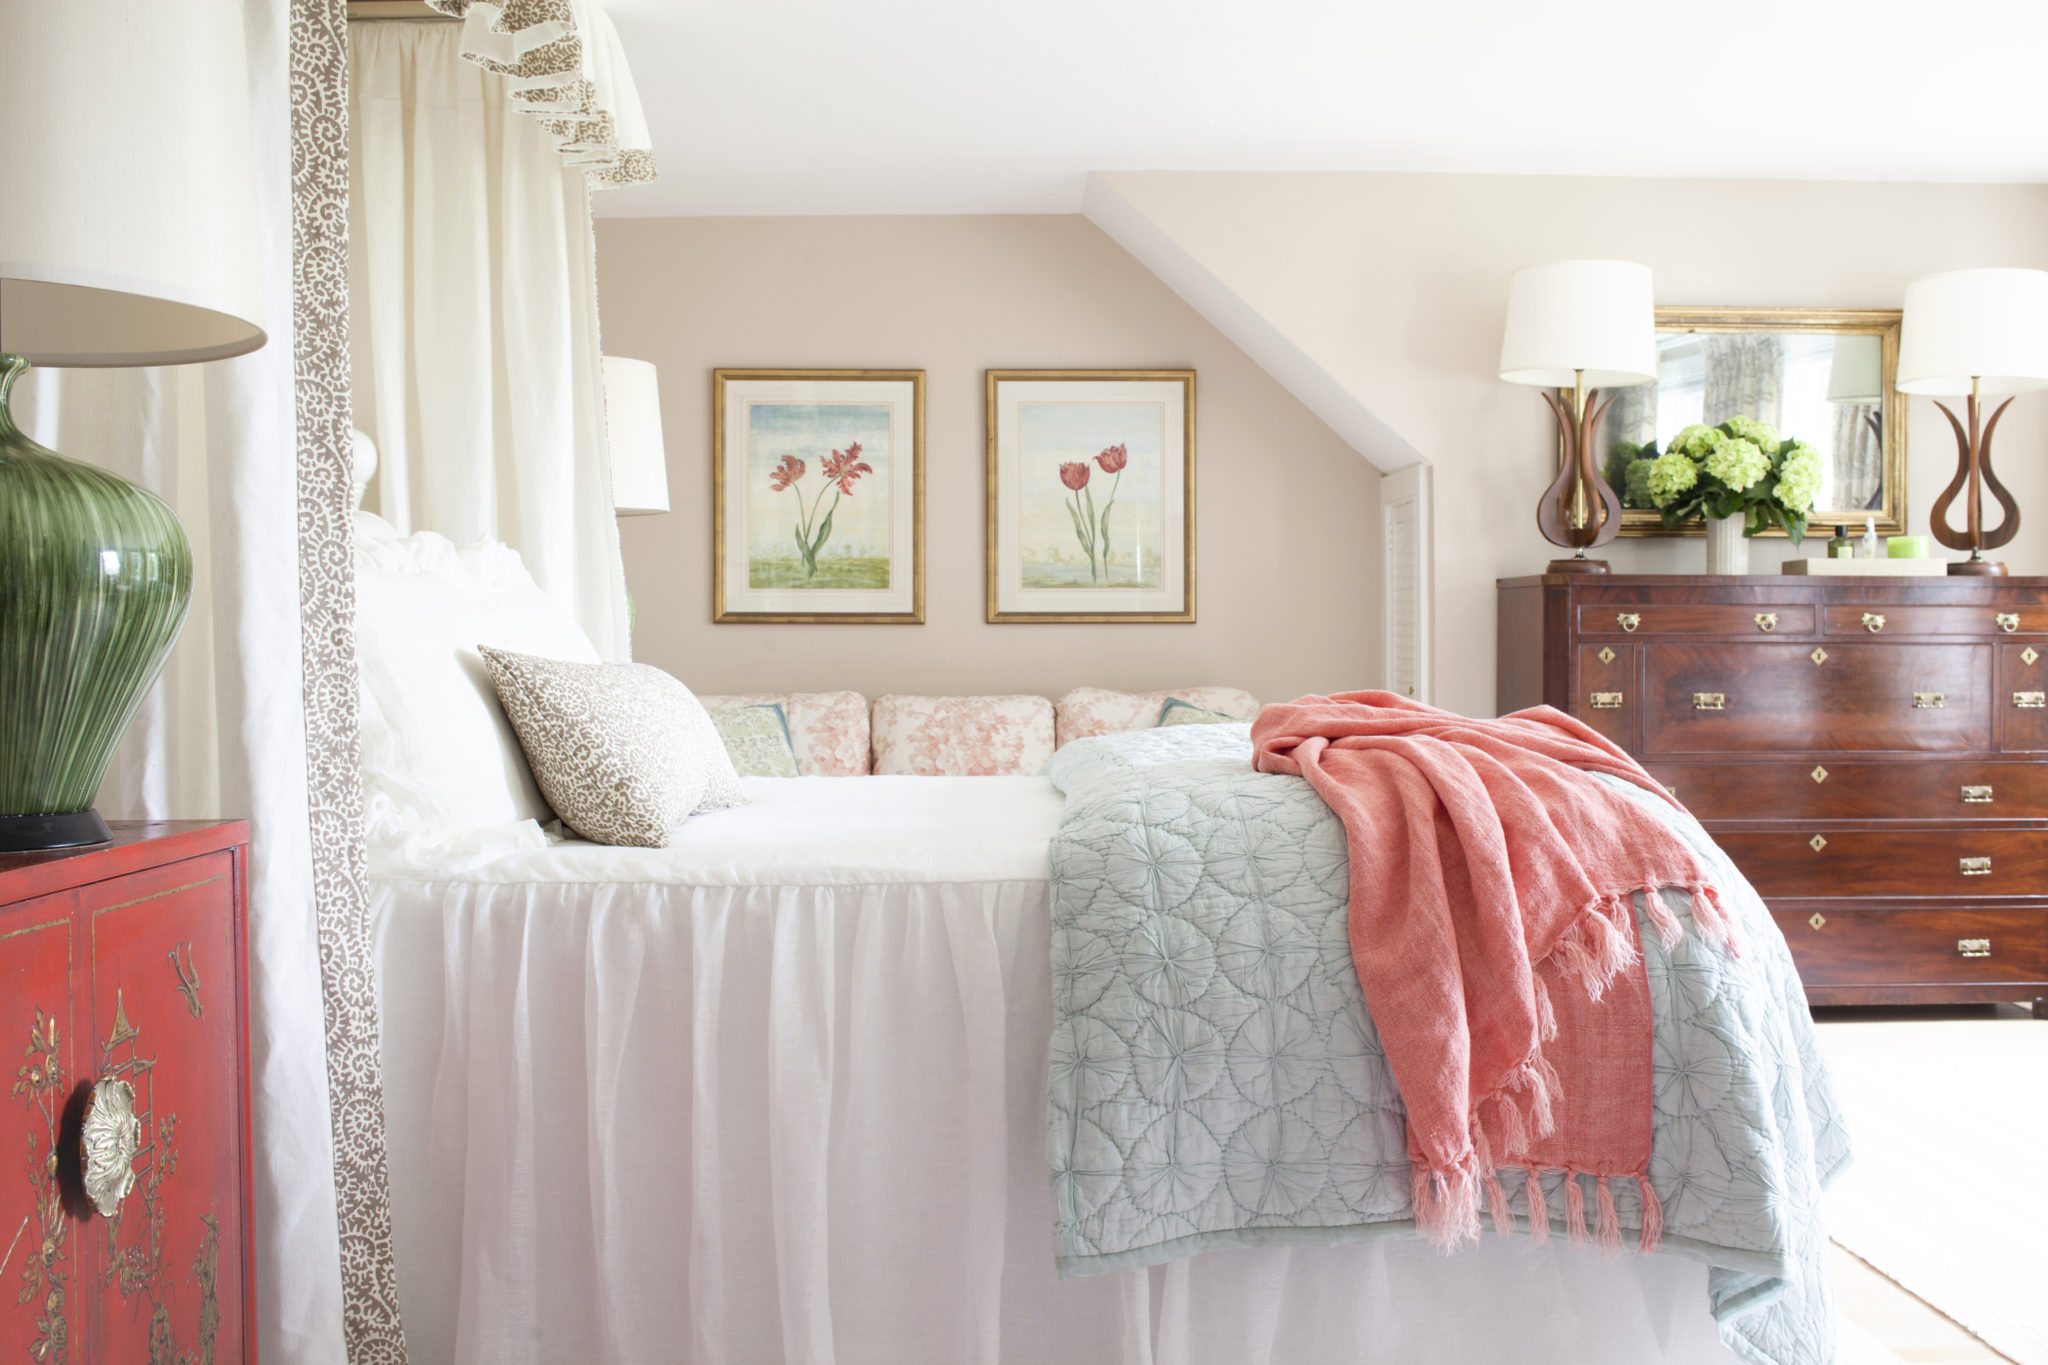
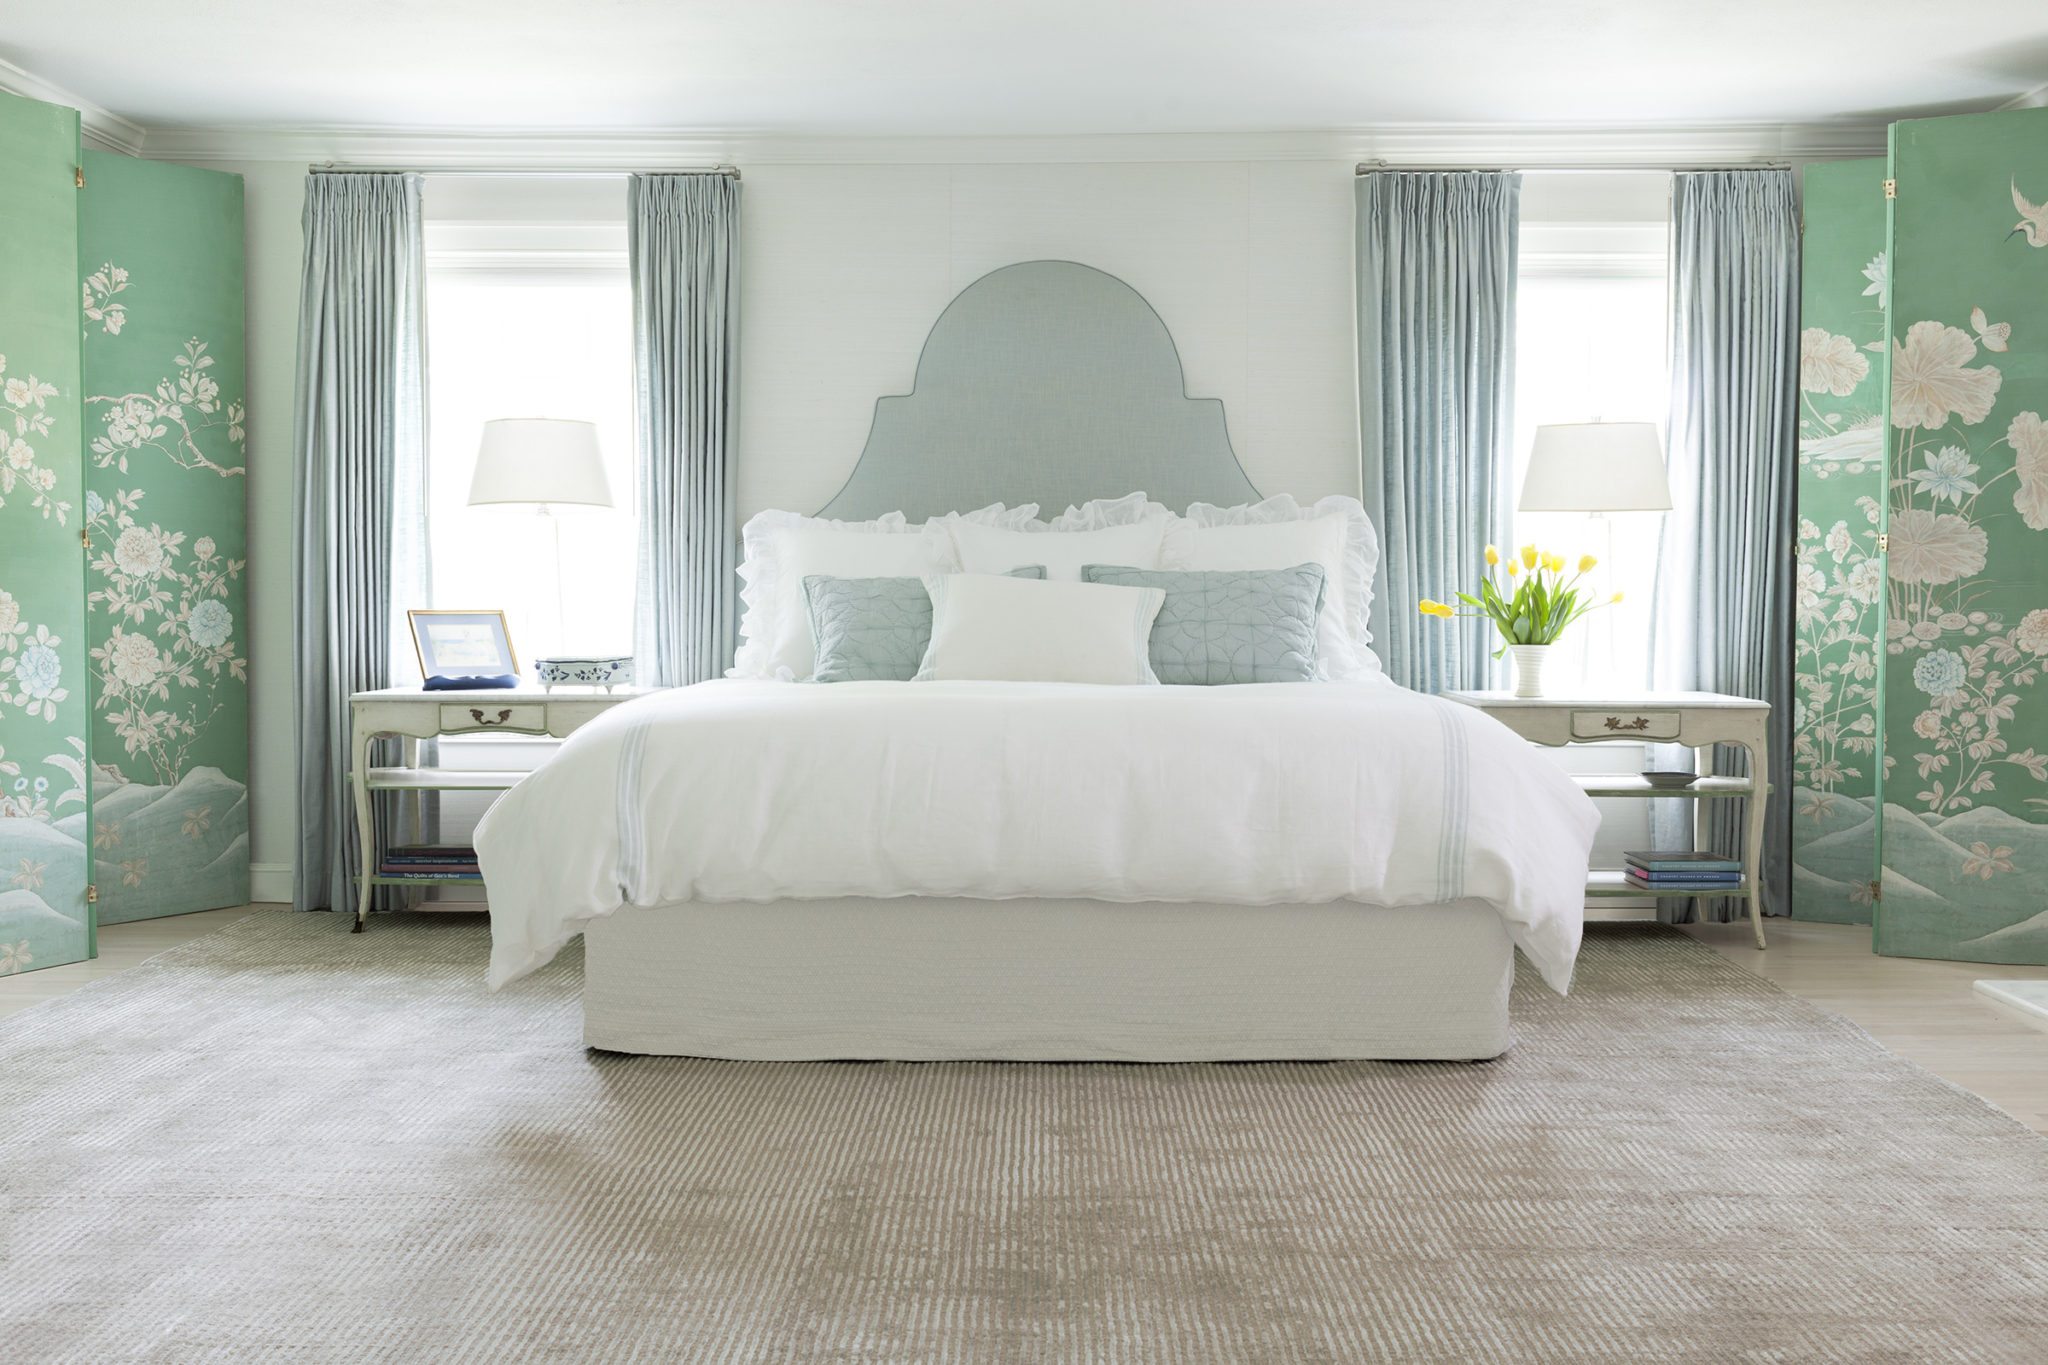
In this post, get excited about how Annie Selke used vintage, hand-painted room dividers to line both sides of her elegant master bedroom – our. jaws. are. on. the. floor! We were so inspired by Annie that we decided to give you a method to make your own killer screens — no artistic intuition or steady hand required.
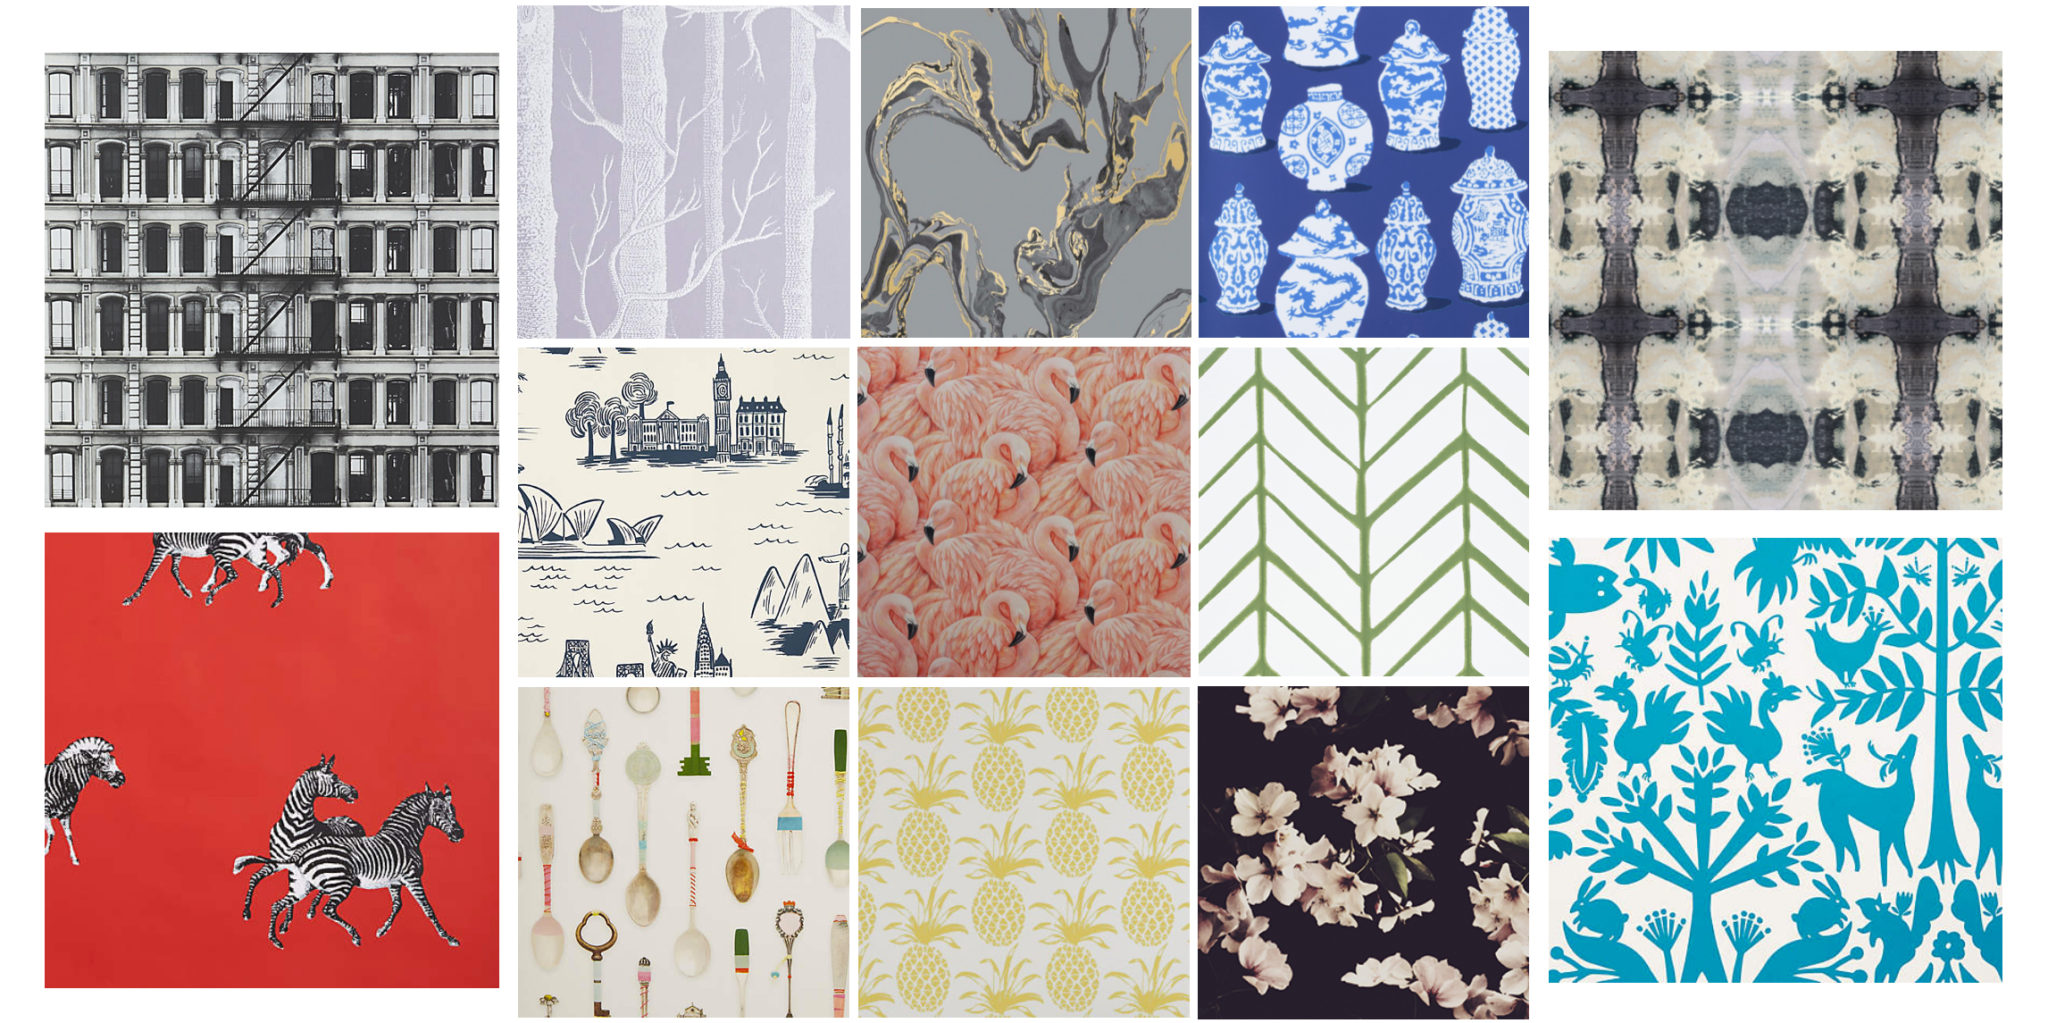
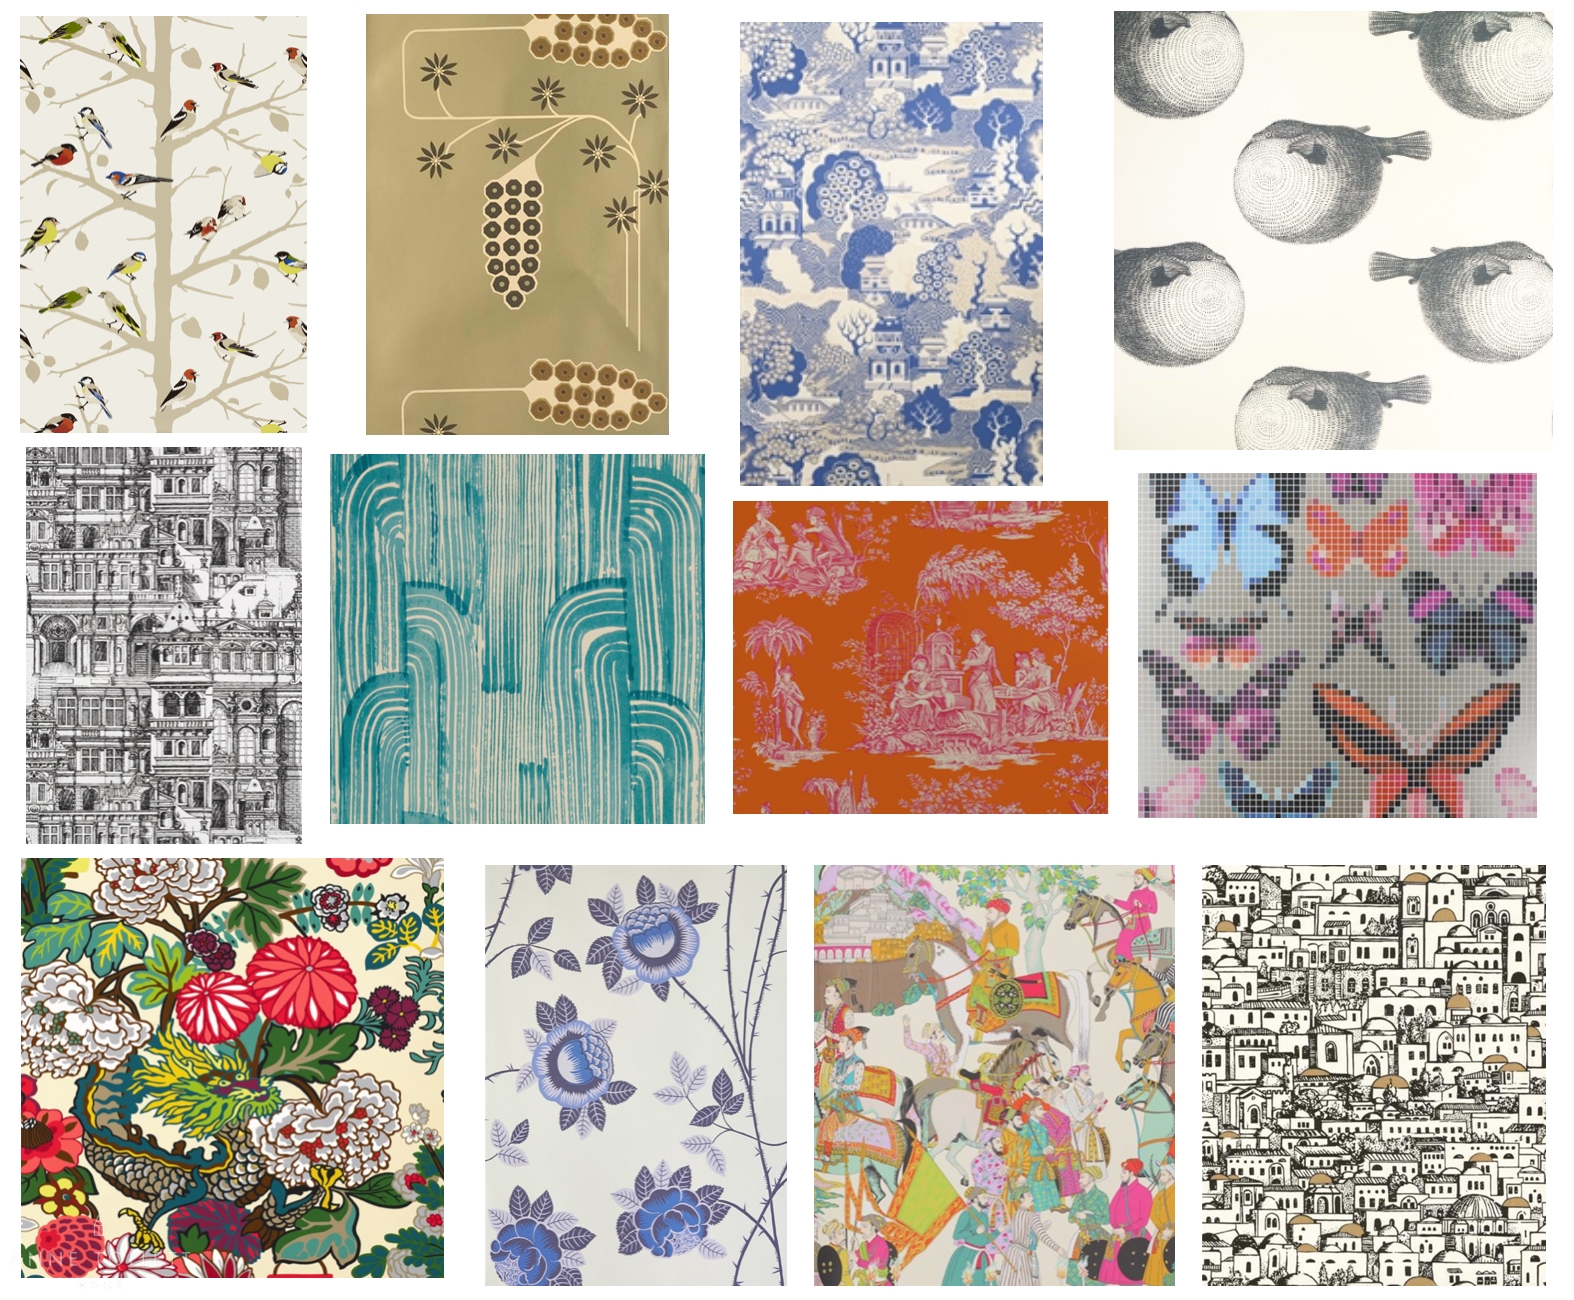
Bold patterned room dividers lend a room the illusion of papered walls with out the expense or the commitment. Three cheers for adding chic dimension to a space without the permanence of wallpaper, Fickle Design Peeps, REJOICE! And looking at all you renters out there, this is a great alternative to painting!
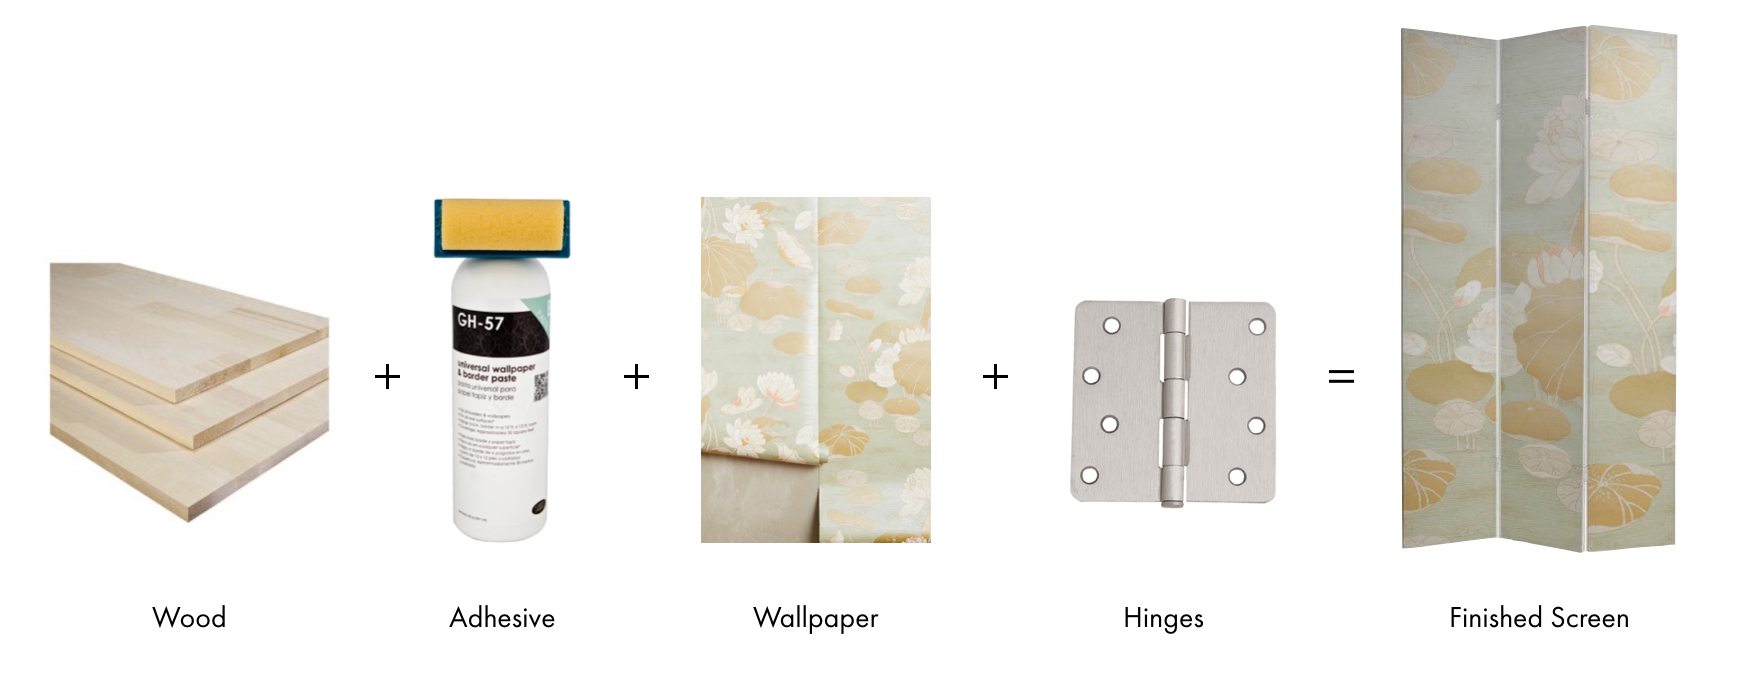
Wood | Adhesive | Wallpaper | Hinges
Note: The link we have provided for wood leads to panels that are 3/4″ thick, 18″ high, and 8′ long, which is the perfect size for one panel in most houses.
5 STEP DIY DESIGN FOR WALLPAPERED ROOM DIVIDERS
Step 1: Determine how much wood you need. When measuring, keep in mind that your panels will be folded and free-standing. Measure for enough 18″ panels to line either side of your space while slightly bent, and make sure they are a minimum of 4″ lower than your ceiling.
Step 2: Determine how many rolls of wallpaper you will need. You will need enough wallpaper to cover the boards (on one or both sides, depending on your preference).
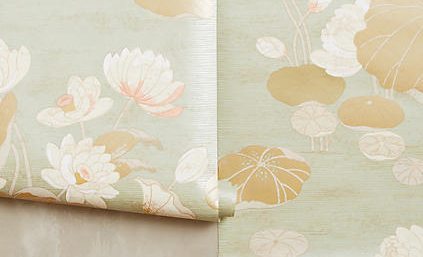
We love this Lily Pad Wallpaper!
Step 3: Before you adhere the wallpaper, we suggest painting the edging of the panels in white, or a color that matches the background of the paper, so you do not have raw wood edges. Staining is also a lovely option.
Step 4: Apply the wallpaper individually to each panel using wallpaper adhesive.
Step 5: After applying the wallpaper, and allowing time for drying, install hinges and you’re done!
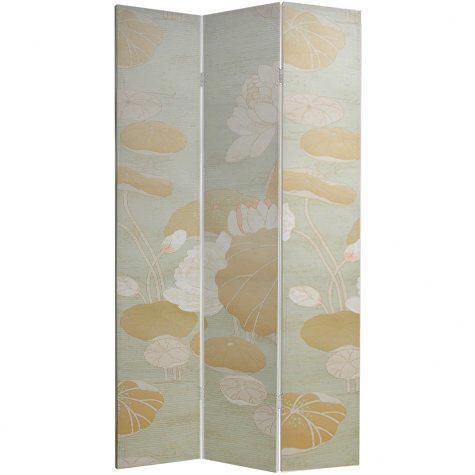
Feel free to ask us any questions below, and we would love to see the screens that you create for your own room!
xoxo
Anne
